When it comes to the development of Polaroid photos, there is a common belief that shaking the picture aids in its development, but this is actually a misconception.
The real question is whether Polaroids develop better in light or dark conditions.
The instant film used in Polaroids is sensitive to light; however, the development process requires a precise balance of light exposure.
In my experience, immediately after taking a Polaroid photo, it should be kept away from bright light.
Once the photo is ejected from the camera, placing it face down or tucking it away in a dark place allows the chemicals to react properly and the image to develop steadily.
Exposing the photo to light too soon can result in overexposure, whereas too little light can yield an underdeveloped image.
Interestingly, while the development process needs to be shielded from light initially, the fully developed photos do display their colors and hold up best when they are later stored in a light-controlled environment.
Sunlight or bright lights can fade the colors over time, so to ensure longevity, it’s ideal to store Polaroid photos in an album or box where they have some protection from continuous light exposure.
Contents
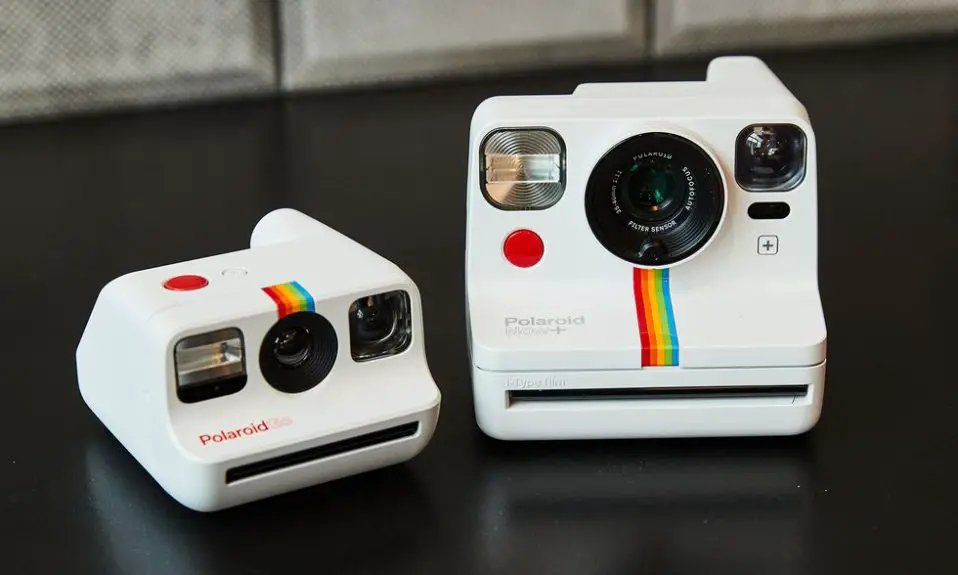
Do Polaroids Develop Better In Light Or Dark

When developing Polaroid photos, I adhere to specific environmental conditions to achieve the best quality.
Once I snap a photo, the development process begins inside the film itself. This is a chemical reaction that requires careful handling.
Immediate After-Capture Care:
- Keep it dark: After taking a picture, I shield the film from light. I typically place it face down or inside a dark space, like a bag or a box.
- Avoid shaking: Contrary to popular opinion, I don’t shake the film, as it can harm the image by causing the chemicals to spread unevenly.
Optimal Development Conditions:
- Temperature: The ideal temperature for the film to develop is around 70°F (21°C). Too cold or too hot can adversely affect the photo.
Development Time:
- The developing time for a Polaroid photo can typically range from 10 to 15 minutes, but this can vary depending on the film type and the ambient temperature.
During development, the photo will progress through different stages, with its colors and details gradually becoming clearer. I’ve learned to be patient during this phase, as disturbing the film can disrupt the process.
By following these basics, I ensure that my Polaroid photos develop correctly and yield images with the intended clarity and color fidelity. It’s a process of carefully balanced conditions rather than exposure to elements that might work for other types of photography.
Effects of Light on Polaroid Film
When it comes to the development of Polaroid film, light plays a crucial role.
Right after a Polaroid photo is ejected from the camera, the film begins a sensitive chemical process.
I must stress that during the initial moments, exposure to bright light can adversely affect the outcome of the image.
This is why my advice is to shield the photo from light immediately upon its ejection from the camera.
How Light Interacts:
- Bright light during the first few minutes: Can lead to overexposure and potentially damage the developing photo.
- Post-initial development: Light exposure is less critical after the photo has darkened, but caution is still advised.
For those curious about whether it’s beneficial to develop Polaroid film in complete darkness, I’d like to clarify that while a dimly lit environment is ideal during the initial development stage, absolute darkness is not necessary. The main goal is to mitigate the risk of light interfering with the chemical reaction occurring within the film.
Key Points:
- Shield the photo from bright light initially.
- The first few minutes are crucial for proper chemical reaction.
- A dimly lit room is preferable to pitch-black conditions.
In summary, to ensure the quality of a Polaroid photo, take care to protect it from bright light during the earliest stages of development. This will help secure a well-exposed final image without the adverse effects caused by too much light.
Importance of Darkness in Film Development
In my exploration of Polaroid film development, I’ve learned that the process is highly sensitive to light exposure. Darkness plays a crucial role in ensuring the chemical reactions occur correctly.
Chemical Processes in Dark Conditions
When I develop Polaroid film, it’s imperative to understand that the film contains layers of light-sensitive chemicals that react when exposed to light. This is why, after taking a picture, I protect the film from light to prevent overexposure. In a dark or dimly lit room, these chemicals react at a controlled rate, allowing the image to develop as intended. Exposing the film to light prematurely can lead to chemical imbalances, resulting in photos with incorrect exposure or color balance.
Polaroid Film Storage Recommendations
As for storing unused Polaroid film, I always keep it in a cool and dry place away from light. This ensures the film’s chemicals do not degrade before use. By doing so, I protect the film’s integrity and sensitivity until I’m ready to take my next photograph.
Best Practices for Developing Polaroid Pictures
In my experience with photography, particularly with Polaroids, I’ve found that development quality hinges on two crucial factors: proper time and temperature conditions, and careful handling during the development phase.
Development Time and Temperature Control
Polaroid pictures have a specific chemical process that activates once a photo is taken. I’ve learned that the optimal development time usually ranges between 10 to 15 minutes. However, it’s the temperature that significantly affects the process. Polaroid film should be developed at a temperature between 55°F and 70°F (13°C and 21°C). If you find yourself in cooler temperatures, you might want to warm the picture gently, for example, by placing it close to your body. In contrast, if it’s too warm, seek a cooler place or shade to prevent overdevelopment.
- Optimal temperature range:
55°F - 70°F (13°C - 21°C) - Average development time:
10 - 15 minutes
Note: Deviating from these conditions can lead to color shifts or unwanted artifacts in your photographs.
Handling and Viewing Newly Taken Photos
Right after I take a Polaroid, I ensure that it’s shielded from light immediately. I either place it face down on a flat surface or inside a dark compartment, like a camera bag. It’s important not to bend or shake the photo, as this can cause the chemicals to spread unevenly or create streaks. Once the picture has developed for at least a few minutes in darkness, I usually find it safe to view the image without fear of affecting its development significantly.
- Immediate steps post-shooting:
- Shield from light.
- Place it face down or in a dark compartment.
- Do Not:
- Shake or bend the photo.
- Expose to intense light immediately.
Handling your Polaroid with care and patience is vital for achieving the best photographic result.
Common Misconceptions About Polaroid Development
One prevalent misconception is that shaking the Polaroid photo helps it develop faster. This actually stems from the impulse to see the photo develop promptly, paired with a cultural reference from a well-known song. Shaking can damage the image quality by causing the chemicals to distribute unevenly.
Many believe that exposure to light is essential for developing a Polaroid picture, but in fact, the truth is the opposite. When I take a Polaroid, I immediately shield it from bright light. This is because instant film contains light-sensitive materials which can be adversely affected by immediate exposure.
There’s also a confusion around the darkness requirement. While a completely dark room isn’t necessary, it’s crucial to protect the film from direct sunlight during the initial stages of development. I find that placing the photo face down on a flat surface does the job well.
- The development process involves a delicate chemical reaction:
- Direct light exposure can interfere with this reaction.
- Moderate shielding from light, therefore, is beneficial, especially in those first moments post-exposure.
Furthermore, the development time for a Polaroid is often misunderstood. Each film type has specific instructions, and I adhere to the manufacturer’s guidance for the optimal wait. Typically, it ranges from 90 seconds to 15 minutes.
Lastly, despite contrary beliefs, temperature plays a crucial role. A Polaroid should be developed in a moderate and consistent temperature. High or low temperatures can greatly affect the outcome of the photo’s development, with the risk of underdevelopment or overdevelopment.
Troubleshooting Poorly Developed Polaroids
When I encounter Polaroids that have developed poorly, I immediately consider the exposure to light during development. The common misconception is that shaking the photo can enhance development, but this can actually harm the picture. Here are some step-by-step measures you can take:
Check the Development Environment:
- Keep it dark: Immediately after the photo ejects, shield it from bright light. Tuck it away from direct sunlight for about 90 seconds.
- Wait: Allow it to continue developing in a dim environment for an additional 10-15 minutes.
Adjust Your Camera Settings:
- ISO: Ensure the ISO setting is appropriate for your lighting conditions.
- Exposure: Modify the exposure levels to capture sufficient light without overexposing.
Evaluate the Film:
- Expiration: Check if the film is past its expiration date; expired film might not develop correctly.
- Damage: Confirm that the film hasn’t been damaged by light prior to taking the picture.
Here’s a quick troubleshooting checklist:
- Protected from bright light immediately after shooting?
- Kept in a dimly lit area for sufficient development?
- Camera ISO setting suitable for the environment?
- Exposure level set correctly?
- Are film expiry and storage conditions checked?
By methodically checking these points, you can often pinpoint and solve the issue with poorly developed Polaroids.