The Fujifilm Instax Mini 11 is beloved for its simplicity and the joy of instant photography. However, capturing the perfect shot can sometimes be marred by overexposure, resulting in washed-out images.
Overexposure occurs when too much light hits the film, and since the Instax Mini 11 automatically adjusts exposure, bright environments can trick the camera’s sensors leading to this common issue.
I’ve encountered the challenge of overexposed photos on my Instax Mini 11, and through experience, I’ve found proven methods to manage light conditions effectively.
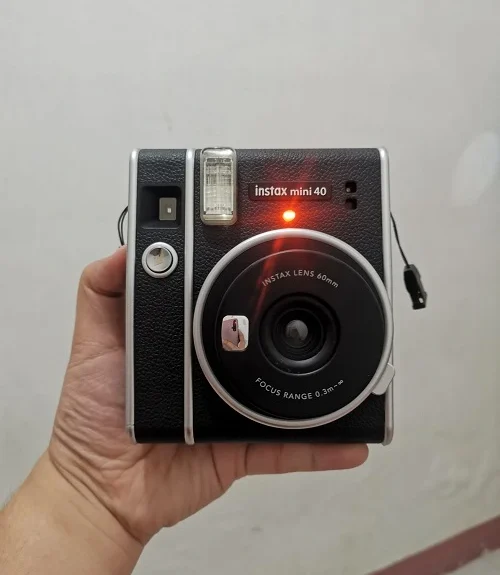
For instance, the Instax Mini 11 and Mini 40 are essentially the same in function; both models can sometimes benefit from manual adjustments in bright conditions.
One is to modify the camera’s exposure settings, if possible, or utilize a neutral-density filter to reduce the amount of light entering the lens.
Addressing the problem involves a mix of camera handling techniques and understanding the camera’s automatic exposure system.
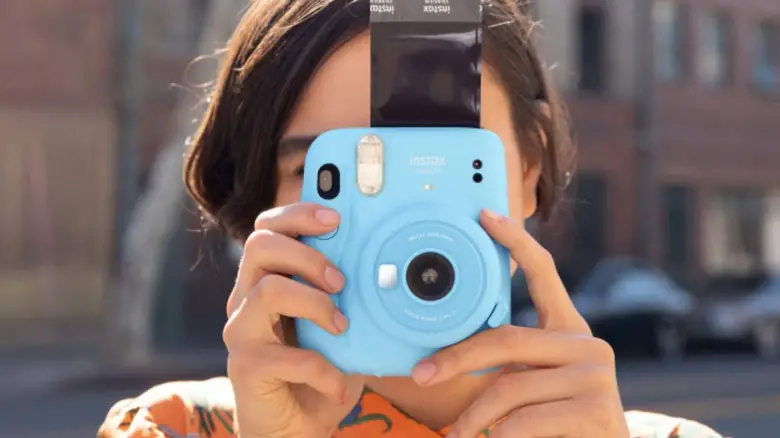
It’s crucial to ensure that nothing obstructs the light sensors on the front of the camera. I’ve learned that simple fixes, like adjusting how the camera is held or altering the case design, can drastically improve the outcome of the photographs.
Contents
- Understanding Overexposure
- Preventive Measures
- Troubleshooting Overexposed Instax Mini 11 Photo
- Hands-On Fixes
- Post-Exposure Solutions
- Maintenance Tips
- Professional Assistance
- Frequently Asked Questions
- What can I do if my Instax Mini 11 is ejecting overexposed films?
- How can I adjust the exposure settings on my Instax Mini 11 to prevent overexposure?
- My Instax Mini 11 photos are overexposed; how do I correct this?
- Is there a way to fix a stuck eject button that might be causing overexposure on my Instax Mini 11?
- Why are my Instax Mini 11 pictures overexposed and how can I prevent this?
- What should I do if my Instax Mini 11 is consistently producing overexposed pictures?
Understanding Overexposure
In my experience with the Instax Mini 11, capturing the perfect exposure hinges on understanding both the camera’s functions and the scenarios that can lead to overexposure.
Basics of Instax Mini 11 Exposure
The Instax Mini 11 automates exposure settings to simplify instant photography for users. It calibrates the shutter speed and flash output based on the ambient lighting as detected by its sensors. This camera doesn’t allow for manual exposure adjustments, so I have to rely on its built-in light sensors to achieve the correct exposure.
- Light Sensor: Dictates the exposure settings
- Shutter Speed: Automatically adjusted
- Flash Output: Can’t be manually controlled but is crucial to the exposure
Common Causes of Overexposure
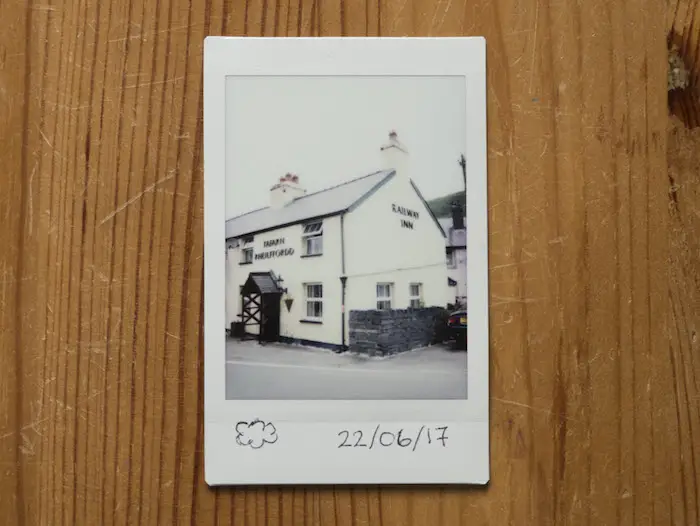
Overexposure occurs when a photo is too bright, resulting in a loss of detail especially in lighter areas. Several factors can be responsible for this issue:
- Bright Lighting Conditions: The sun’s intensity or bright indoor lighting can mislead the camera’s sensor.
- Exposure to Light: Incorrect handling of the film, exposing it to light before shooting, affects the final result.
- Expire Ffilms: Using film that is past its expiration date often leads to unpredictable exposure levels.
- Obstructed Sensors: If anything covers the camera sensor, it skews the sensor’s reading, causing overexposure.
By recognizing these factors, I am better equipped to address overexposure in my Instax Mini 11 photos.
Preventive Measures
In my experience, preventing overexposure with the Fujifilm Instax Mini 11 involves two key strategies: finding the right lighting and tweaking the camera settings.
Optimal Lighting Conditions
I’ve learned that the Instax Mini 11 performs best under consistent and moderate lighting conditions. Direct sunlight often leads to overexposure. Here’s how I manage lighting:
- Indoors: I seek areas with natural light but avoid direct sunlight through windows.
- Outdoors: I prefer shaded areas or I wait for a time when the sun is less intense, such as early morning or late afternoon.
Camera Settings Adjustments
Adjusting the camera’s settings can greatly reduce the chance of overexposed photographs. Here’s what I typically do:
- Exposure Compensation: If the environment is too bright, I set the camera to a darker setting if available.
- Flash Control: Given that the Instax Mini 11 has an automatic flash, I make sure to not block the flash or the light sensors that help gauge exposure.
Troubleshooting Overexposed Instax Mini 11 Photo

When your Instax Mini 11 produces overexposed photos, two critical components to check are the exposure dial and light sensors. Proper adjustment and maintenance can often rectify overexposure issues.
Checking the Exposure Dial
I always advise starting with the exposure dial. It dictates how much light is allowed into the camera and can be set according to the lighting conditions. Here’s what I do:
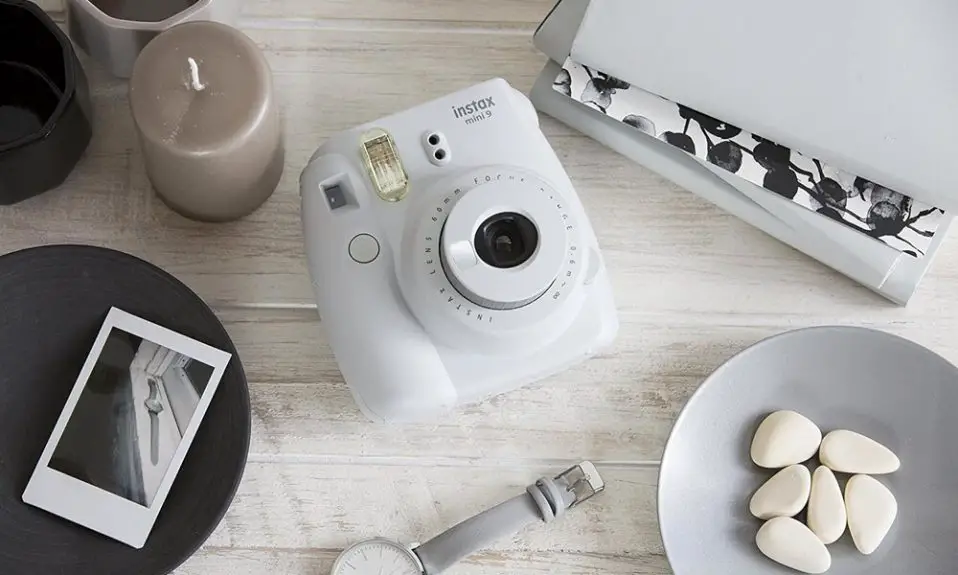
- Locate the dial: Find the exposure dial on your Instax Mini 11. It should be around the lens.
- Set according to the light: If it’s sunny, position the dial to the ‘sunny’ setting. For less light, I adjust it to a setting that allows more light in, like the ‘cloudy’ or ‘indoor’ setting.
Remember, a correct dial setting is crucial for a well-exposed photo.
Assessing the Light Sensors
Light sensors on the Instax Mini 11 determine the exposure automatically. Here’s my approach to ensuring they work effectively:
- Clean the sensors: I ensure the sensors are clean, as dirt or fingerprints may cause incorrect readings.
- Check for obstructions: I make sure nothing is covering the sensors. Even small obstructions can lead to overexposed pictures.
By maintaining clean and unobstructed light sensors, I ensure they perform optimally, giving correctly exposed photos.
Hands-On Fixes
When addressing overexposure in the Instax Mini 11, two effective hands-on methods are manual exposure correction and the use of filters. These approaches require immediate action on the camera itself and can significantly improve the quality of your photos.
Manual Exposure Correction
I recommend setting the camera to a neutral exposure setting like “sunny” for consistent results. Ensure the light sensors on the front of the camera are not covered by your hands or any case, as this can affect the auto-exposure feature. If your photos are still overexposed, consider moving to a shaded area or waiting for softer lighting conditions.
Using Filters to Control Light
To reduce the amount of light entering your camera:
- Sunglasses: Hold a pair of sunglasses over the lens to attenuate the light.
- Tape: If overexposure persists, use a small piece of tape to cover the flash partially.
Using these methods can help you regain control of the lighting in your photographs.
Post-Exposure Solutions
When dealing with overexposure on the Instax Mini 11, I focus on methods to salvage photos post-exposure. These techniques may offer some reprieve to the problem.
Salvaging Overexposed Photos
If I find myself with an overexposed photo from my Instax Mini 11, there are a couple of steps I can take to possibly salvage it, though success isn’t guaranteed:
- Careful Handling: Once the photo is ejected, I handle it delicately and shield it from further light exposure immediately to prevent potential worsening of the overexposure.
- Temperature Adjustments: I have noticed that placing the overexposed photo in a cooler environment can sometimes halt the development process and slightly minimize the overexposure. However, this is not a surefire method and must be done cautiously.
Maintenance Tips
In ensuring your Instax Mini 11 performs optimally, I focus on maintaining a rigorous cleaning routine and storing the device correctly. These maintenance measures prevent common issues such as overexposure and extend the camera’s lifespan.
Regular Cleaning Routines
Lens Care: I gently wipe the lens of my Instax Mini 11 with a microfiber cloth to remove fingerprints and dust. This not only maintains picture clarity but also helps avoid unexpected exposure issues stemming from lens obstructions.
Camera Body Cleaning: I regularly clean the camera body with a soft, dry cloth. It’s important to remove any debris that might block the light sensors and lead to overexposure in the photographs.
Storage Recommendations
Environmental Factors: I store my Instax Mini 11 in a cool, dry place away from direct sunlight which can affect the film as well as the camera’s exterior and internal components over time.
Protective Case: I use a protective case that does not cover the light sensors on the front of the camera, ensuring that the camera’s auto-exposure feature operates correctly.
Professional Assistance
When dealing with an overexposed Instax Mini 11, I might decide to seek professional help if the problem persists despite trying all the suggested fixes.
When to Seek a Camera Technician
I understand that while some issues can be resolved with quick fixes, others require the expertise of a camera technician. I’ll know it’s time to visit a professional if:
- I’ve attempted troubleshooting techniques, such as adjusting the camera’s settings or covering the flash, with no improvement in photo quality.
- The camera is physically damaged or there are indications of internal mechanical failure.
Warranty and Repair Services
My Instax Mini 11 may still be under warranty, which could potentially cover repair costs. To navigate this process, I’ll consider the following steps:
- Check the warranty period: Ensure the camera is still within the warranty timeframe.
- Review warranty coverage: Understand what types of repairs and issues are covered by the warranty.
- Contact customer support: Fujifilm often provides a support service where I can get advice or instructions on how to proceed with the repair.
- Locate an authorized service center: If repair is necessary, using an authorized service center ensures that my camera is handled by trained technicians and preserves the warranty status.
Frequently Asked Questions
In addressing the common issue of overexposed photos from the Instax Mini 11, I will guide you through various solutions and adjustments you can make.
What can I do if my Instax Mini 11 is ejecting overexposed films?
If your Instax Mini 11 is ejecting overexposed films, cover half of the flash with dark tape to reduce light exposure. This low-tech fix can balance the flash’s intensity.
How can I adjust the exposure settings on my Instax Mini 11 to prevent overexposure?
I cannot manually adjust exposure settings on the Instax Mini 11 as it’s designed with preset exposure control. Instead, I can influence the exposure by changing the environment, such as shooting in shaded areas or using diffusers over the flash.
My Instax Mini 11 photos are overexposed; how do I correct this?
To correct overexposed photos, I use dark tape to cover part of the flash or shoot in well-lit environments without direct sunlight. Additionally, ensuring that my film is properly stored and not expired can prevent overexposure.
A stuck eject button can contribute to overexposure by not properly processing the film. I can check the button for obstructions or contact a professional for repair, as tampering with the camera internals might cause further damage.
Why are my Instax Mini 11 pictures overexposed and how can I prevent this?
Overexposure in Instax Mini 11 pictures often results from excessive flash. To prevent this, I can adjust the camera angles, use the flash in moderation, or shoot in ambient light that’s neither too bright nor too dark.
What should I do if my Instax Mini 11 is consistently producing overexposed pictures?
Consistent overexposure might be due to a camera malfunction or user error. I make sure to check the film expiration, camera cleanliness, and handling techniques. If the problem persists, I may consult the user manual or reach out to Fujifilm support for assistance.