Capturing the perfect moment with an Instax Mini 9 is an art that blends classic photography skills with a few handy tricks exclusive to this beloved instant camera.
My experience with the Instax Mini 9 has taught me that there’s much more to this compact device than pointing and shooting.
I’ve learned to embrace natural lighting, play with angles, and understand the importance of distance to make the most of each photo.
With its playful design and simple operation, the Instax Mini 9 may seem like a straightforward camera, but it harbors potential for creativity.
I’ve discovered that utilizing the brightness adjustment dial correctly and experimenting with its limited yet effective settings can produce stunning results.
Overcoming common issues like overexposure and blurry subjects takes practice, but with the right approach, the Instax Mini 9 can yield photos that are as rich in quality as they are in instant charm.
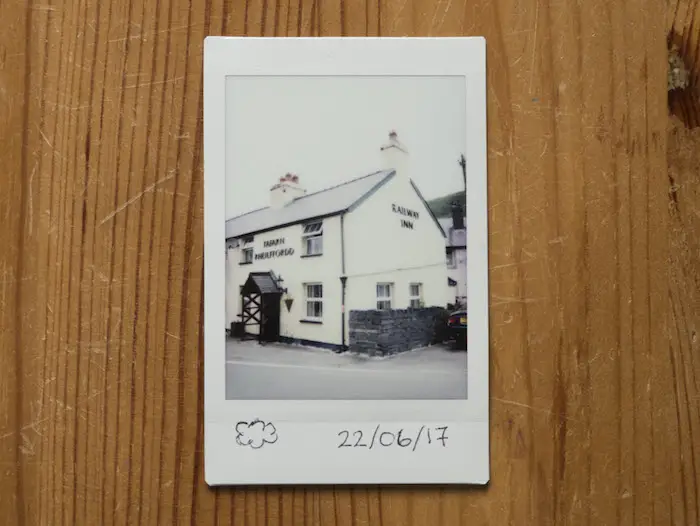
As someone who enjoys the tangibility of instant photography, I value the tactile experience the Instax Mini 9 offers.
From the anticipation of waiting for the film to develop to the joy of holding a fresh snapshot, the process is as rewarding as the outcome.
Sharing these tips and tricks isn’t just about getting better photos; it’s about enhancing the entire experience of using this instant camera.
Contents
- Getting to Know Your Instax Mini 9
- Optimizing Your Photography Experience
- Creative Shooting Modes
- Maintaining Your Camera
- Troubleshooting Common Issues
- Accessorizing Your Instax Mini 9
- Sharing and Displaying Your Photos
- Advanced Tips and Techniques
- Frequently Asked Questions
- How can I take high-quality pictures with my Instax Mini 9?
- What are the optimal settings to use on the Instax Mini 9 for various lighting conditions?
- Why are my Instax Mini 9 photos coming out underexposed and how can I fix that?
- Can I create a double exposure effect with my Instax Mini 9, and if so, how?
- Is there a way to perform a reset on the Instax Mini 9 if it’s not functioning properly?
- What do the flashing orange lights on my Instax Mini 9 indicate?
Getting to Know Your Instax Mini 9
My aim here is to guide you through the essentials of your Instax Mini 9 so that you can use it with confidence.
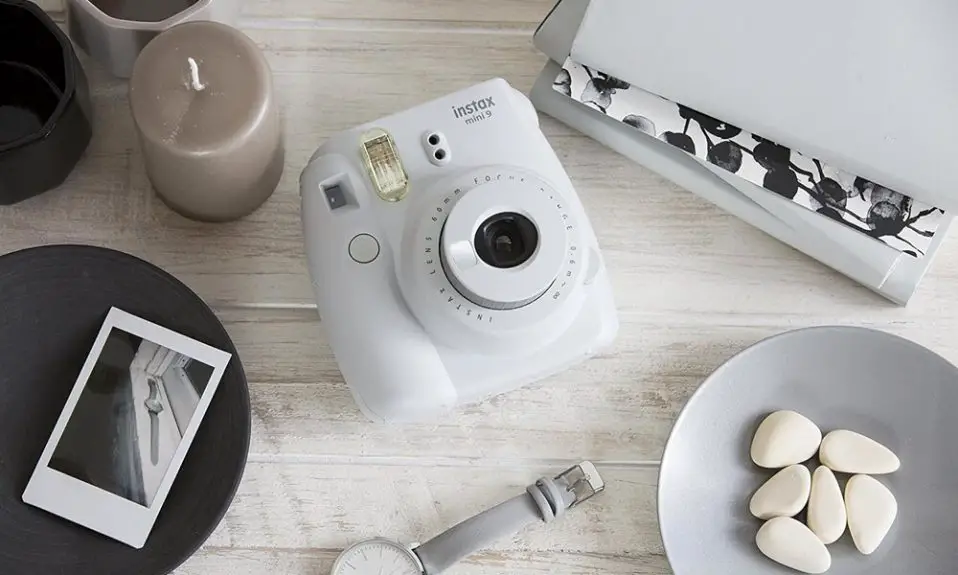
Camera Components
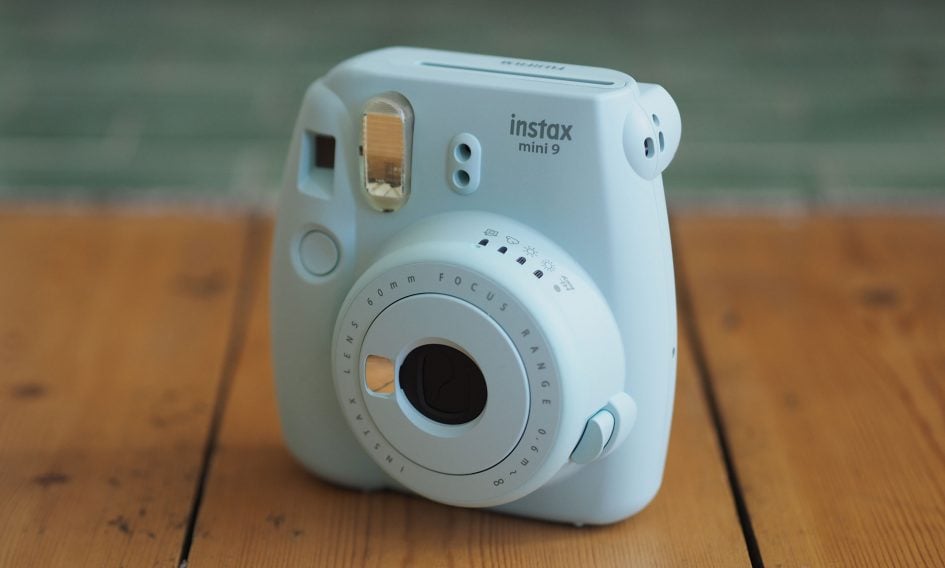
Before you start snapping away, it’s essential to familiarize yourself with the key components of the Instax Mini 9. On the front, you’ll find the lens—simply pull it out to turn the camera on.
Above the lens is the flash, which fires with every shot, ensuring your photos are well-lit. Just above the flash is the exposure counter, which shows you how many shots you have left.
On the back, there’s the film door, which opens to load film packs. Notice the viewfinder on the corner for framing your shots, and on the front side next to the lens, the brightness adjustment dial displays the recommended aperture setting.
Battery Tips
My Instax Mini 9 runs on two AA batteries. To ensure optimal performance:
- Use alkaline batteries for the best results.
- Always replace both batteries at the same time, and use batteries of the same brand and type to avoid malfunction.
- When the camera is not in use for an extended period, I remove the batteries to prevent any possible leakage that may damage the camera.
Film Loading Instructions
Loading film correctly is crucial for preventing wasted shots and film jams. Here’s a quick step-by-step:
- Check the film pack: Confirm the film expiration date is still valid.
- Open the film door: Push the button near the door to pop it open.
- Align the yellow marks on the film pack and the camera, this ensures you’re inserting the film correctly.
- Insert the film pack gently until it clicks into place.
- Close the film door and press the shutter button once to eject the film cover—your camera now shows ’10’ in the exposure counter, meaning you’re ready to take 10 instant photos.
Optimizing Your Photography Experience
Capturing the perfect moment with the Instax Mini 9 revolves around understanding the camera’s features and how to use them effectively. I’ll guide you through mastering the light sensor, focusing techniques, and exposure control to elevate your photography.
Understanding the Light Sensor
The Instax Mini 9 features an automatic light sensor that determines the optimal brightness for your photos. I recommend taking note of the LED indicator next to the lens, as it suggests the appropriate aperture setting for the current lighting condition. These settings include:
- Indoors, Night (f/12.7)
- Cloudy, Shade (f/16)
- Sunny, Slightly Cloudy (f/22)
- Sunny and Bright (f/32)
Align the brightness adjustment dial to the light indicated by the LED for the best results.
Focusing Techniques
Focusing with the Instax Mini 9 requires an understanding of the camera’s viewfinder and its limitations. It’s crucial to note the minimum focus distance which is about 60cm. For close-up shots, you should use the close-up lens attachment and be sure to position yourself at least 35cm away from your subject.
- Regular shots: Keep at least an arm’s length distance to ensure clarity.
- Close-up shots: Use the attachment and maintain the recommended distance.
Best Practices for Exposure Control
Controlling exposure with the Instax Mini 9 can be tricky, but with the right practices, you can achieve high-quality shots:
- Check the Exposure counter and make sure you have film left.
- Consider the surroundings; if you’re shooting in a brightly lit area, you might need to adjust the dial to a higher setting than what the sensor indicates.
- Take multiple shots in different light conditions to get familiar with how your camera handles exposure.
Keep in mind that film reacts to light, so over or underexposing your photographs can drastically affect the outcome.
Creative Shooting Modes
In my experience with the Instax Mini 9, exploring its creative modes can transform ordinary images into memorable pieces of art. The key is to understand the camera’s capabilities and leverage its features for creative outcomes.
Macro Photography
I often employ the close-up lens attachment for macro photography, ensuring the camera is positioned 35-50cm away from the subject. This technique allows me to capture fine details with clarity, bringing a sense of intimacy to the image that standard shots can’t achieve.
High-Key Mode Uses
The High-Key mode on my Instax Mini 9 is a tool I use to give photos a softer impression. Engaging this mode creates a brighter photo by adjusting the brightness dial to the high-key setting. It’s particularly effective for portraits or images that benefit from a whiter, dreamy aesthetic.
Long Exposure Tips
When shooting in low-light conditions, I sometimes opt for a long exposure to allow more light into the camera. With the Instax Mini 9, achieving this effect can be improvisational, as it lacks a dedicated long exposure setting. I hold the shutter button down longer than usual, keeping the camera steady to prevent blur and capture a well-exposed photo in dim settings.
Maintaining Your Camera
To ensure the longevity and optimal performance of my Instax Mini 9, I adhere to a meticulous maintenance routine encompassing a regular cleaning guide, proper film cartridge removal techniques, and specific storage recommendations.
Regular Cleaning Guide
I begin by wiping the camera’s exterior with a soft, dry microfiber cloth to remove fingerprints and dust. Lens care is essential – I use a lens brush to gently sweep away debris before employing a lens cleaning fluid with a lens tissue, ensuring no residue remains. It’s crucial to avoid using harsh chemicals or abrasive materials that could damage the camera surface or lens.
Film Cartridge Removal
When it comes time to remove or replace the film cartridge, I make sure the camera is off to avoid exposure to unused film. I open the film door gently and remove the cartridge without forcing it. I handle the cartridge by its edges to prevent any possible damage to the film or the camera’s internal components.
Storage Recommendations
For storage, I keep my Instax Mini 9 in a cool, dry place, away from direct sunlight and extreme temperatures. I use a protective case to safeguard it against dust and accidental drops. Additionally, I ensure that the camera is not left with batteries inside for prolonged periods, as this can lead to corrosion and possible malfunctions.
Troubleshooting Common Issues
When using the Instax Mini 9, I’ve found that certain issues arise more commonly than others. Understanding these problems can save time and frustration, allowing for a quicker return to capturing memorable moments.
Film Ejection Problems
Symptoms:
- The film does not come out after snapping a photo.
- Partially ejected film gets stuck.
Solutions:
- Check the Film Counter: Verify if there’s film left.
- Inspect for Jams: Gently open the film door and look for obstructions.
- Battery Power: Low batteries can affect ejection; replace if necessary.
Unresponsive Flash Fixes
Symptoms:
- Flash does not fire despite proper indoor/outdoor settings.
Solutions:
- Battery Check: Ensure that batteries are not depleted.
- Flash Ready: Wait until the flash charging lamp is no longer blinking before taking a picture.
Lens Retraction Solutions
Symptoms:
- The lens does not retract when turning off the camera.
Solutions:
- Clear Obstructions: Ensure nothing is physically blocking the lens.
- Manual Assistance: Gently help the lens back if it seems stuck, then try powering off again.
Accessorizing Your Instax Mini 9
Accessorizing my Instax Mini 9 not only adds a personal touch but also enhances the functionality and protection of my camera.
Essential Accessories
- Carrying Case: I ensure my Instax Mini 9 is protected from dust and scratches with a durable carrying case, which also makes it convenient to transport.
- Film Storage: I use a dedicated album or case to keep my instant photos organized and prevent damage.
Customizing with Skins and Cases
- Decorative Skins: I apply adhesive skins to my camera for a personalized look. These can range from solid colors to vibrant patterns.
- Protective Cases: I choose from a variety of protective cases that not only safeguard my camera but also come in different styles and colors to reflect my personality.
Attachment Options
- Straps: I opt for adjustable and comfortable straps for ease of carrying my camera during outings.
- Lens Attachments: I experiment with various lens attachments like macro or wide-angle lenses to enhance the capabilities of my Instax Mini 9’s fixed lens.
Sharing and Displaying Your Photos
Once I capture the perfect shots with my Instax Mini 9, I like to share and display them in creative ways that complement their unique charm.
Creating Photo Albums
I find that photo albums are a timeless method for organizing and preserving my memories. Here’s how I do it:
- Choose the Right Album: I select an album with acid-free pages to prevent my photos from deteriorating over time.
- Organize Thematically: Putting photos in a thematic order gives my album a narrative, which makes flipping through it more enjoyable.
DIY Display Ideas
For a more visual and decorative approach, I craft DIY displays around my space using these techniques:
- Photo Strings: I hang twine across my wall and use mini clothespins to attach my Instax photos. This creates a dynamic and easily changeable display.
- Magnetic Frames: Using small magnetic frames on my fridge or other metallic surfaces allows me to put my favorite snapshots in a spot where I’ll see them every day.
Advanced Tips and Techniques
Exploring advanced techniques with the Instax Mini 9 can transform simple snapshots into creative masterpieces. The following methods are ideal for photographers looking to experiment with their images.
Double Exposures
To achieve the double exposure effect on my Instax Mini 9, I first take a picture but do not eject the film. I then partially cover the lens and shoot a second image over the first. This technique results in layered visuals, offering a ghostly or artistic overlay that can elevate the photo’s narrative depth.
Experimental Lighting
Utilizing different light sources can dramatically alter the mood of the photograph. I often play with colored lights or flash gels over the camera’s flash to introduce vibrant hues or soft tones. Backlighting a subject or using reflective surfaces can also create unexpected and compelling effects.
Close-Up Filters
The Instax Mini 9 has a built-in lens ideal for general use, but for more detailed shots, I attach a close-up filter. This allows me to shoot as close as 35-50 centimeters from my subject, capturing finer details that would otherwise be missed. It’s great for photographing textures, insects, or intricate objects.
Frequently Asked Questions
In this section, I cover key questions and provide specific guidance to enhance your experience with the Instax Mini 9.
How can I take high-quality pictures with my Instax Mini 9?
To achieve high-quality pictures with the Instax Mini 9, ensure you have good lighting and use the camera’s built-in light meter to adjust the brightness dial correctly. Hold the camera steady, frame your subject well, and avoid blocking the flash and light meter with your fingers.
What are the optimal settings to use on the Instax Mini 9 for various lighting conditions?
In sunny, bright conditions, align the dial to the lit “sunny” indicator. For cloudy settings, adjust to the “cloudy” mark. Indoors, use the “indoor” setting, and if you’re in a particularly dark environment, set the dial to “Hi-Key” to brighten up the photo.
Why are my Instax Mini 9 photos coming out underexposed and how can I fix that?
Underexposed photos often result from not adjusting the brightness dial to match the ambient lighting. Check the light meter and make sure to set the dial to the corresponding lit LED indicator to ensure proper exposure.
Can I create a double exposure effect with my Instax Mini 9, and if so, how?
The Instax Mini 9 does not natively support double exposures. However, to achieve this effect, you can partially eject a photo after taking it and reinsert it before taking the next shot. This technique requires precise timing and may take practice to perfect.
Is there a way to perform a reset on the Instax Mini 9 if it’s not functioning properly?
If your Instax Mini 9 is malfunctioning, try removing and reinserting the batteries to reset the camera. Ensure that the batteries are fresh and correctly installed according to the polarity indicated.
What do the flashing orange lights on my Instax Mini 9 indicate?
Flashing orange lights on your Instax Mini 9 typically indicate an issue with the brightness adjustment dial. Ensure it’s set to the correct position as per the light meter’s suggestion. If the lights continue to flash, check the batteries or try resetting the camera.