The Fujifilm Instax Mini 9 is a popular instant camera that captures memories with the push of a button and instantly dispenses a photo to hold in mere seconds.
One of its features is an automatic flash that is designed to fire in every shooting situation to ensure good exposure, particularly in low-light conditions.
This automatic flash mechanism, while useful in certain scenarios, can sometimes be a hindrance for those looking to take photos with a more natural light setting or aiming to capture a particular mood without the harshness of a flash.
Despite the lack of a dedicated off switch for the flash on the Instax Mini 9, photographers have found workarounds to manage the flash output.
While official documentation does not provide a straightforward method to disable the flash, understanding the camera’s operation enables users to creatively modify its function.
Whether it is by physically altering the flash’s intensity or manipulating the camera settings to minimize the impact, there are several methods to take control of the photography experience.
In my experience, adapting to the Instax Mini 9’s automatic flash requires a mix of patience and innovation.
The methods to adjust the flash’s influence on your images range from simple fixes like using translucent materials to nuanced techniques that make the most out of the camera’s settings.
The key is to know what approach works best for the intended result and the setting in which you are capturing your image.
Contents
- Understanding Your Instax Mini 9
- Preparations Before Turning Off the Flash
- Steps to Turn Off the Flash on Instax Mini 9
- Photography Tips Without Flash
- Troubleshooting Common Issues
- Frequently Asked Questions
- Can I disable the automatic flash feature when taking photos with the Instax Mini 9?
- What are the steps to deactivate the flash on the Instax Mini 9?
- Is it possible to manually control the flash on the Instax Mini 9 camera?
- Why does my Instax Mini 9 automatically use flash even in bright conditions?
- Are there any accessories available to prevent flash activation on the Instax Mini 9?
- How does the Smart Flash feature work on the Instax Mini 9?
Understanding Your Instax Mini 9
The Fujifilm Instax Mini 9 presents a traditional instant photography experience with modern tweaks.
Here, I’ll articulate the camera’s key features and its built-in flash capabilities.
Features of the Instax Mini 9
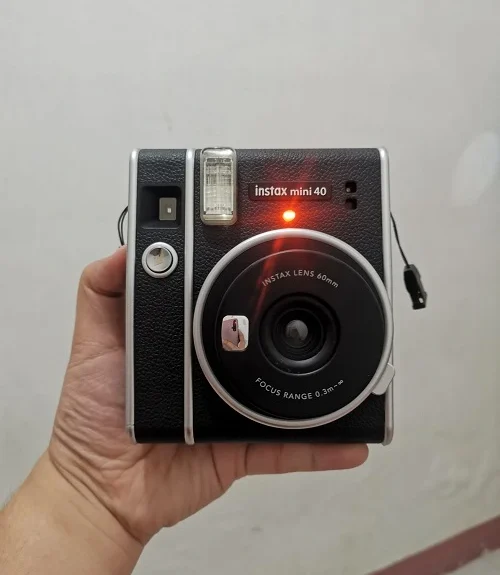
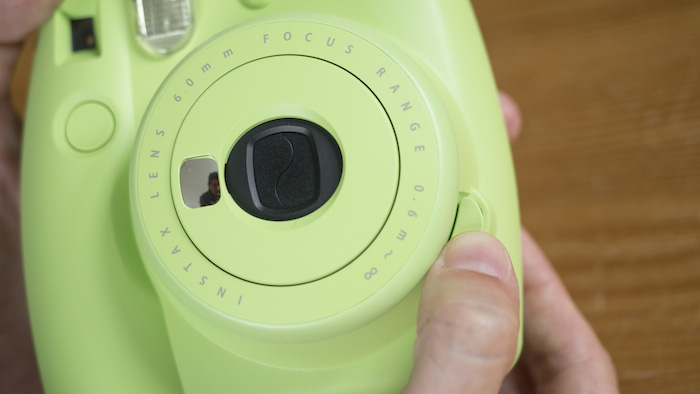
- Lens: Equipped with a fixed 60mm f/12.7 lens that is capable of capturing crisp images.
- Viewfinder: A real image finder with target spot ensures I can frame shots effectively.
- Exposure Control: Manual switching system with an LED indicator informs me of the recommended aperture setting.
- Shutter Speed: Fixed at 1/60 sec, providing consistency across various lighting conditions.
- Film Feeding Out: Automatic, facilitating ease in film development after taking a shot.
Flash Overview
The Instax Mini 9 incorporates an always-on flash feature designed to adapt to different lighting situations. The flash has the following specifications:
- Recycle Time: 0.2 sec to 6 sec, allowing for quick succession of photos.
- Effective Range: 0.6 to 2.7 meters, ensuring subjects within this distance are illuminated.
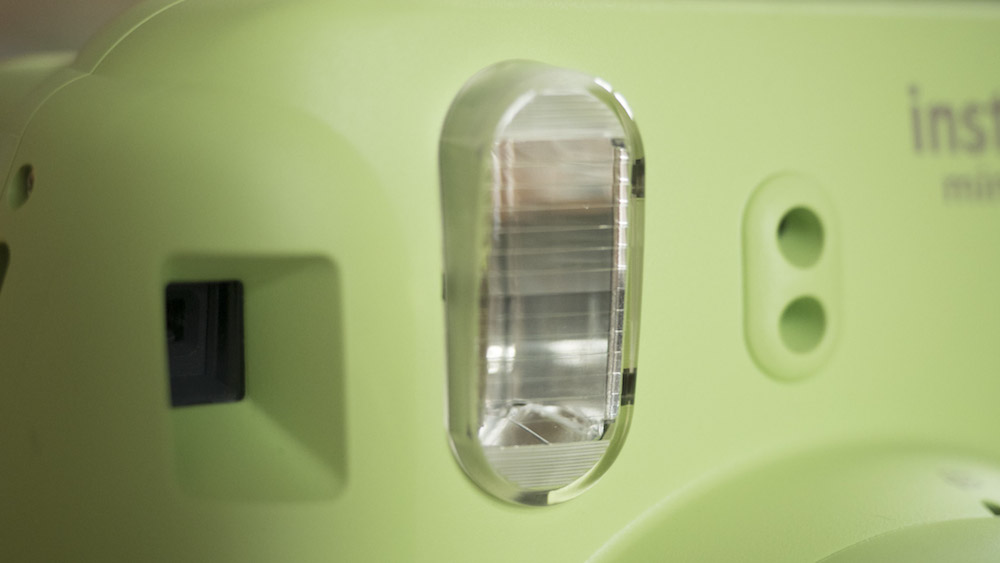
- Intensity Control: While I can’t turn off the flash, covering it with translucent tape or using a diffuser can minimize its impact.
Preparations Before Turning Off the Flash
Before attempting to turn off the flash on your Instax Mini 9, it’s crucial to prepare properly to ensure you capture the best images.
Ensuring Proper Lighting Conditions
I check the lighting of the environment where I’ll be taking photos. It’s important because the Instax Mini 9’s flash is designed to automatically engage in low-light conditions.
If the ambient lighting is insufficient, even with flash adjustments, your photos may turn out underexposed.
Here’s how I assess the lighting:
- Indoors: I look for bright, evenly distributed light sources, such as near large windows or under well-placed artificial lighting.
- Outdoors: I consider the time of day and weather conditions. Overcast conditions or the golden hours (shortly after sunrise or before sunset) often provide ideal lighting.
Checking Camera Battery Level
The battery level can affect the camera’s performance. I always ensure my Instax Mini 9 has fresh batteries or a sufficient charge before I start shooting, especially since disabling the flash requires manual adjustments that rely on consistent power. Here’s my quick battery check routine:
- I press the power button to turn on the camera.
- I observe the light next to the viewfinder. A steady light indicates good battery level, whereas a blinking light warns me of low batteries.
- If necessary, I replace the batteries with two new AA batteries to avoid any interruptions during my photo session.
Steps to Turn Off the Flash on Instax Mini 9
In my experience with photography equipment, the Instax Mini 9 camera has an automatic flash feature designed for optimal exposure.
My specific focus will be to guide you through disabling the flash which is not directly switchable but manageable through alternative methods.
Locating the Flash Button
The Instax Mini 9, unlike some other models, does not come with a dedicated flash off button.
My attempts to locate such a button yielded no results because it is designed to auto-adjust to lighting conditions.
However, my experience suggests that a physical modification can be an effective workaround to manipulate the flash.
Disabling the Flash Function
To work around the automated flash on my Instax Mini 9, I must rely on DIY methods.
Placing a non-permanent, translucent material such as tape over the flash can diminish its intensity.
Boldly speaking from what I have gathered and tested, this approach allows me to indirectly control the flash output without altering the function of the camera itself.
Photography Tips Without Flash
While it may seem like a limitation, capturing images without a flash on the Instax Mini 9 can be advantageous.
It pushes me to explore natural light sources and camera settings to enhance the quality of the photographs I take.
Using Natural Light
Prioritize Daylight: I make the most of the daylight by positioning subjects near large windows or taking photos outside during the golden hour, which is just after sunrise or before sunset. This natural light is more flattering and casts soft, diffused shadows that can add depth to the image.
Reflect Light Strategically: To avoid harsh shadows and evenly distribute light, I use reflectors which can be anything from a professional photography reflector to a simple piece of white cardboard. Positioning these reflectors opposite to the light source helps to brighten the subject’s face gently.
Adjusting the Camera Settings
Optimize the Exposure: I adjust the brightness adjustment dial on the Instax Mini 9 to control the exposure. For environments that are too bright, I turn the dial to the darker setting and vice versa for darker environments.
Select the Right Mode: The Instax Mini 9 features different shooting modes that I select according to the environment. For instance, if I’m taking a photo indoors, I use the ‘House’ mode, and if I’m outside, I choose the ‘Cloudy’ or ‘Sunny’ mode, depending on the weather. These selections help to better balance the available light even without using the flash.
Troubleshooting Common Issues
In this section, I’ll guide you through resolving issues related to the flash on the Instax Mini 9 and optimizing the camera’s features for the best photo results.
Flash Won’t Turn Off
Remember, the Instax Mini 9 camera’s flash is designed to fire automatically with every shot. There’s no official feature that allows you to turn off the flash.
If your intention is to shoot without flash, your best option is to manage the flash’s impact.
You can place a piece of translucent tape over the flash to soften its intensity, although this is not an endorsed method and should be done at your own discretion.
Optimal Usage of Camera Features
My experience with the Instax Mini 9 suggests to:
- Always check the viewfinder: A blinking red light next to it indicates the flash is charging; the camera won’t snap a photo until this light goes out.
- Utilize the exposure dial: It alters the exposure setting to match the surrounding light conditions, which can indirectly affect how the flash interacts with your subject.
- Keep the front holes unobstructed: The two small holes near the flash affect the camera’s light metering, so ensure they’re not covered.
By following these insights, you can manage the automatic flash feature and enhance your overall photography experience with the Instax Mini 9.
Frequently Asked Questions
In the following section, I will address common queries about the Instax Mini 9’s flash functionality.
Can I disable the automatic flash feature when taking photos with the Instax Mini 9?
No, the Instax Mini 9 has a built-in automatic flash that cannot be turned off. It’s designed to activate in all shooting conditions.
What are the steps to deactivate the flash on the Instax Mini 9?
While you cannot deactivate the flash, you can minimize its impact by using a piece of translucent tape or a removable diffuser over the flash.
Is it possible to manually control the flash on the Instax Mini 9 camera?
Manual control of the flash on the Instax Mini 9 is not possible. The camera automatically determines when the flash is needed.
Why does my Instax Mini 9 automatically use flash even in bright conditions?
The Instax Mini 9 is programmed to use flash in all conditions to ensure optimal exposure, as the camera does not have a sensor to detect sufficient light levels.
Are there any accessories available to prevent flash activation on the Instax Mini 9?
There are no official accessories designed to prevent flash activation; however, using third-party diffusers or tapes can help mitigate the flash effect.
How does the Smart Flash feature work on the Instax Mini 9?
The Smart Flash feature on the Instax Mini 9 automatically adjusts the flash strength based on the distance to the subject and ambient light conditions for optimal exposure.